

Table Of Content
- What Makes Solo Travel Photography Feel Like an Editorial?
- The Solo Travel Photography Kit You’ll Actually Carry
- How to Take Full-Body Solo Travel Photography Without the Awkwardness
- Phone Settings That Save a Good Shot
- Let the Destination Do Half the Styling Work
- Destination Dressing Without Looking Like You’re in Costume
- Plan the Frame, Then Leave Room for the Trip
- Solo Travel Photography FAQs
- What is the best tripod height for solo travel photos?
- How do I take candid solo travel photos with my phone?
- Should I use 0.5x or 2x for travel photos?
- How can I pose naturally when traveling alone?
- Is it safe to use a tripod while traveling solo?
Great solo travel photography is not about convincing people you hired a photographer. It is about knowing how to direct the frame yourself: the light, the outfit, the setting, and the small movements that make a photo feel lived-in rather than posed. With a phone, a compact tripod, and a little intention, solo travel photography can look far more editorial than a rushed stranger-shot ever will.
The usual problem is familiar. You hand over your phone at a beautiful landmark and get a blurry photo with your head cut off—or default to a close-up selfie that could have been taken anywhere. The fix is not expensive gear. It is a repeatable approach.
What Makes Solo Travel Photography Feel Like an Editorial?
The best solo travel photos do more than prove you were somewhere. They capture how the place felt.
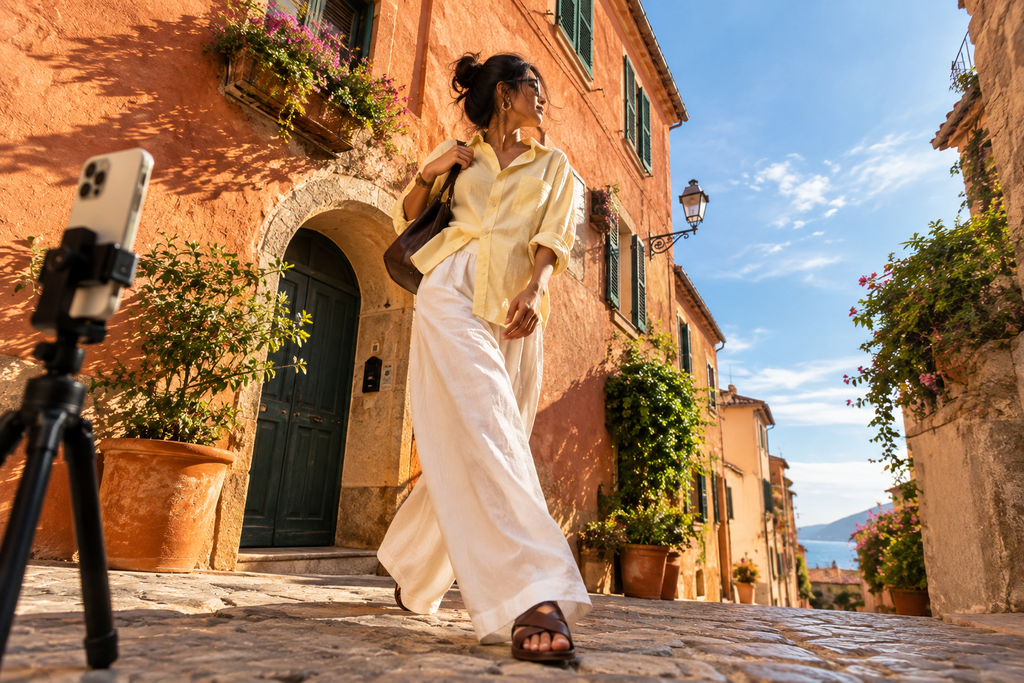
Think of each image as a mix of location, outfit, light, and movement. A cobbled street becomes more interesting when your silhouette contrasts with the architecture. A café shot feels more cinematic when you look toward the street rather than directly at the lens. At the beach, leave room for the horizon, wind in your sleeve, or footprints leading into the frame.
This is the sweet spot: planned photos that do not look frozen. Walk, turn, adjust a bag strap, read a menu, or look up at a façade. You are not trying to fake a spontaneous moment; you are giving yourself something natural to do.
You also do not need a DSLR. Modern phones are more than capable when composition and timing are doing the heavy lifting. As Conde Nast Traveller notes in its guide to solo photos, taking control of your own composition with a tripod can make a major difference.
The Solo Travel Photography Kit You’ll Actually Carry
Your ideal kit should fit easily into a day bag—not turn a museum visit or coastal walk into a production.
- A smartphone with a reliable rear camera
- A compact or flexible mini tripod
- A Bluetooth remote you can hide in your hand
- A portable charger
- A microfiber cloth for the lens
- Your phone’s timer or interval shooting function
- An optional clip-on telephoto lens if your phone has no 2x or 3x option
For solo travel tripod photos, smaller is usually smarter. Set your tripod on a low wall, bench, stable ledge, or the ground rather than raising it in the middle of a busy landmark. It is less conspicuous and often creates a more natural angle.
Stay aware of your surroundings. Do not set up in traffic flow, narrow pavements, isolated areas, or unstable edges. Keep your bag in sight, avoid blocking entrances, and move on if a location feels uncomfortable.
How to Take Full-Body Solo Travel Photography Without the Awkwardness
The goal is not one perfect shot. It is enough strong options to choose from later.
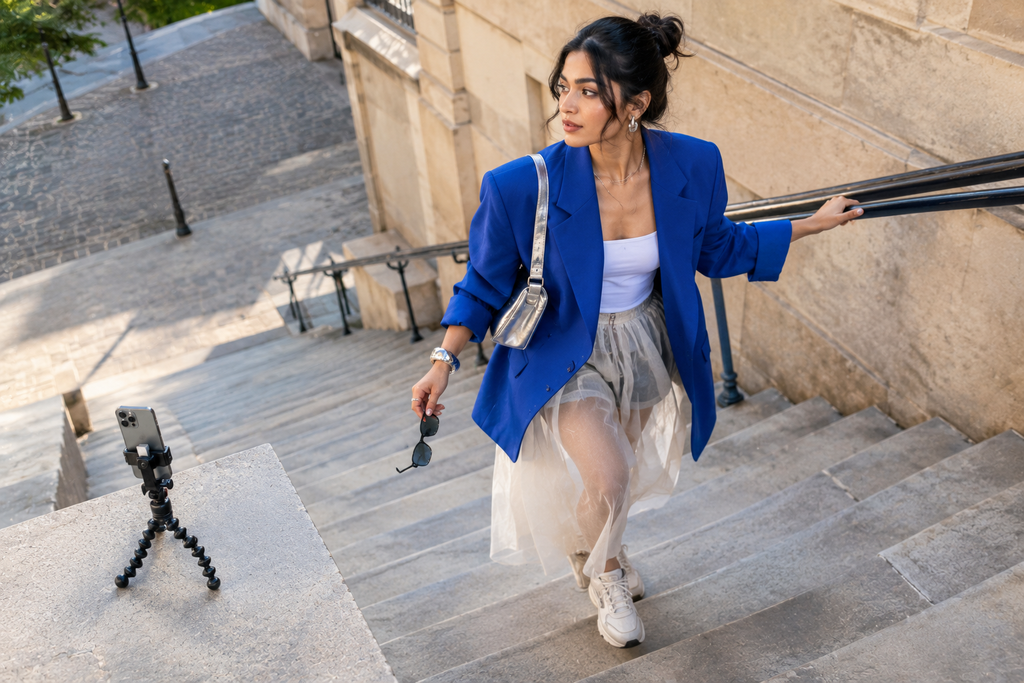
- Find a clean background with a visual anchor: an archway, staircase, doorway, shoreline, or row of columns.
- Turn on gridlines and leave room around yourself for the destination.
- Set the phone at waist or chest height to avoid distorted proportions.
- Use the rear camera and choose 2x or 3x zoom when available.
- Mark where you will stand with a subtle point on the pavement or a nearby feature.
- Lock focus and exposure before stepping into frame.
- Use a remote, timer, or interval shooting, then do several walking or turning passes.
Stepping farther back with a 2x or 3x lens usually looks more polished than shooting close-up on ultra-wide. Telephoto lenses create a little background compression, which makes proportions feel more natural and helps busy scenery recede. Save 0.5x for dramatic architecture or landscapes, not close portraits.
For more detailed self-portrait techniques, including pre-focusing and interval shooting, see Digital Photography School’s solo travel guide.
Phone Settings That Save a Good Shot
- Use the rear camera whenever possible.
- Turn on gridlines for level horizons and stronger framing.
- Tap and hold to lock focus and exposure before entering the frame.
- Lower exposure slightly in bright light to protect pale buildings and skies.
- Use HDR in high-contrast scenes, but check that it has not flattened the atmosphere.
- Try Portrait mode when there is clear distance between you and the background.
- Use RAW or Pro mode only if you genuinely plan to edit later.
For a more candid result, record 4K video at 60fps and move through the scene: walk past the camera, adjust sunglasses, pause in a doorway, or take a sip of coffee. You can pull stills afterward. It is one of the easiest ways to create a natural-looking travel portrait without depending on a stranger’s timing.
Let the Destination Do Half the Styling Work
A strong travel image makes the setting part of the outfit story. Look for doorways, arches, tunnels, and windows that frame you; railings, tiled paths, roads, and staircases that lead toward you; or wide sky and open sea that create breathing room around your figure.
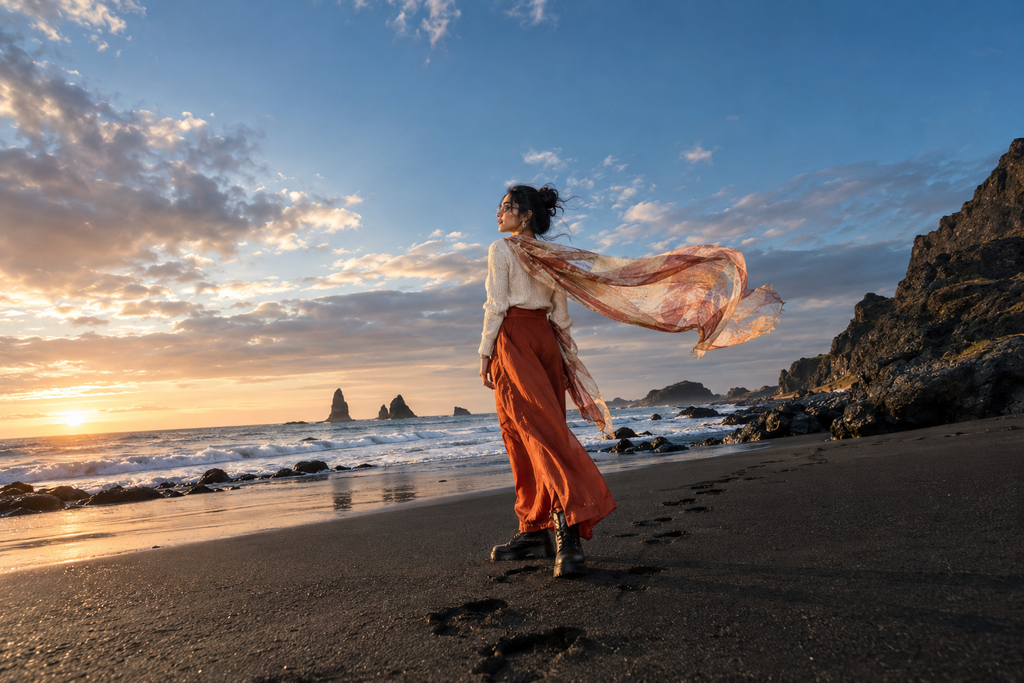
Reflections in windows, puddles, mirrors, and polished stone add depth. Foreground details—flowers, café tables, curtains, leaves—can make a simple scene feel layered. And scale matters: standing small beneath monumental architecture or against a broad landscape can be more memorable than filling the frame.
Light is equally important. Golden hour gives skin and stone a soft warmth, while blue hour suits city scenes, neon, and hotel exteriors. In harsh midday sun, seek open shade beside a bright building, beneath an arcade, on a shaded street, or near a window indoors. Direct overhead sun tends to create deep under-eye shadows and blown highlights.
Destination Dressing Without Looking Like You’re in Costume
Travel outfits work best when they respond to a place’s colour, texture, climate, and atmosphere—not when they turn local culture into a costume.
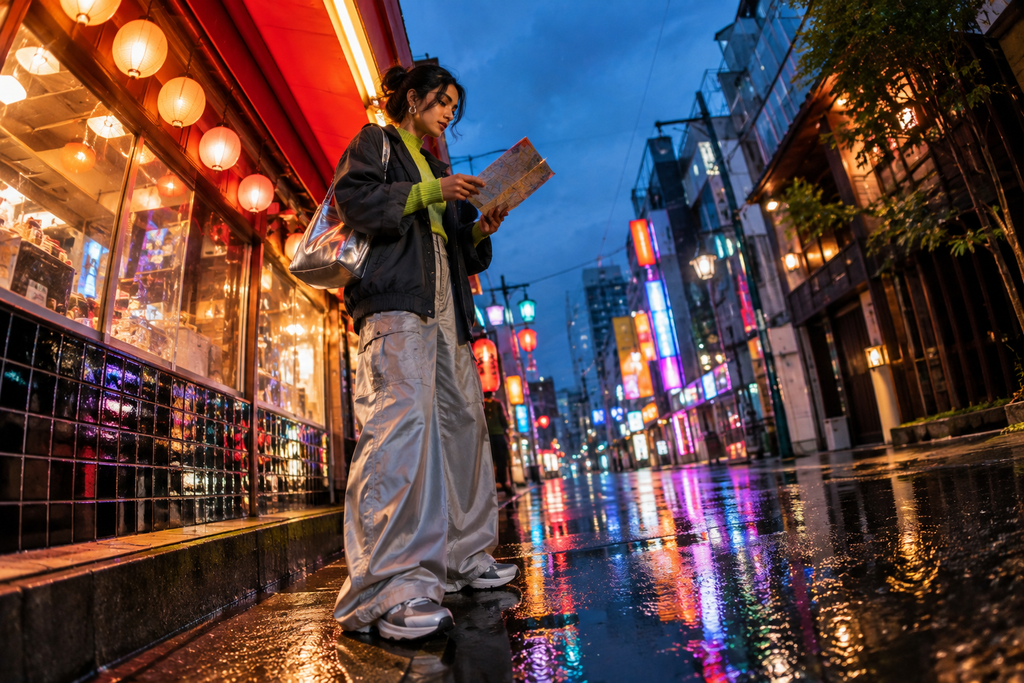
In a terracotta-toned Mediterranean town, white, butter yellow, dark brown, and soft blue can stand out beautifully. In Tokyo after dark, deeper tones, utility layers, oversized silhouettes, and silver accessories can hold their own against neon and concrete. In tropical settings, textured neutrals, linen, crochet, and fluid shapes pair naturally with deep greens.
Pack around a compact palette instead of bringing unrelated statement pieces. Start with how to build a capsule travel wardrobe, then add a few distinct accessories or layers for visual variety. For more ways to create mileage from a smaller suitcase, see how to style one outfit multiple ways.
Fashually can also help with pre-trip planning. Its fashion visualization and AI Virtual Try-On tools let you test outfit ideas against destination-inspired settings before you buy or pack. Use the results as a creative guide, not a promise of exact fit, fabric feel, or real-world appearance.
Plan the Frame, Then Leave Room for the Trip
Before you leave, make a quick creative brief: save five to 10 location references, choose a colour direction, plan two outfits for each major area, and note the best time of day for key spots. Include a weather backup and a simple five-shot list: a walking frame, a detail shot, a seated portrait, a wide image for scale, and a close-up.
When you arrive, spend 15 minutes scouting. Check the light, find a stable tripod position, and take a test frame before changing into your planned look. Photograph respectfully: do not obstruct entrances, treat sacred or residential spaces as sets, or prominently capture strangers without care.
If a destination is still on your mood board, Fashually’s AI Fashion Photoshoots can help create a destination-inspired digital editorial from home. Label those visuals clearly as concepts, rather than documentation of a trip. For a fuller process, explore AI outfit visualization.
Solo Travel Photography FAQs
What is the best tripod height for solo travel photos?
Waist to chest height is the most reliable starting point for full-body photos. It keeps proportions natural and avoids the dramatic upward angle created by placing a phone on the ground.
How do I take candid solo travel photos with my phone?
Use interval shooting or video, then keep moving. Walk through the frame, look toward the light, check a map, hold a coffee, or adjust your jacket instead of waiting in a fixed timer pose.
Should I use 0.5x or 2x for travel photos?
Use 2x or 3x for portraits and full-body shots when possible. Use 0.5x for wide architecture, interiors, or expansive scenery where distortion is part of the intended look.
How can I pose naturally when traveling alone?
Shift your weight onto one leg, relax your shoulders, and give your hands a purpose. Look beyond the lens, walk slowly, touch your hair, hold a bag strap, or interact with the setting.
Is it safe to use a tripod while traveling solo?
It can be, provided you choose visible, stable locations, keep your belongings close, avoid blocking public spaces, and skip any setup that leaves you feeling exposed or distracted from your surroundings.
The most convincing solo travel photography does not rely on anyone believing you had a photographer everywhere. It comes down to a real moment, thoughtfully framed: good light, intentional styling, a sense of place, and the confidence to take a few extra minutes to get the shot.