
Table Of Content
- What Makes an Instagram Aesthetic on a Budget Feel Editorial?
- Your Phone Isn’t Holding You Back—Bad Light Might Be
- Use the Rear Camera for a Better Selfie, Not a Harder Shoot
- Turn Ordinary Corners Into Your Budget Instagram Aesthetic
- The 10-Minute Smartphone Fashion Photography Routine
- One Selfie, Several Directions: Where Fashually Fits In
- FAQ: Small Fixes That Make the Biggest Difference
- Can I create an Instagram aesthetic on a budget without an iPhone?
- What is the best lighting for smartphone selfies at home?
- Should I use the front or rear camera for fashion selfies?
- How do I make my feed look consistent without posting the same photo repeatedly?
Building an Instagram aesthetic on a budget can feel impossible when every campus-fest post seems to come from an iPhone Pro, a rented studio, or an unlimited Zara budget. But a strong Instagram aesthetic on a budget has far less to do with your phone model than with light, composition, styling, and the quality of your source image.
The best feeds do not need to look perfectly polished from post to post. The sweet spot is more personal: a mirror selfie with character, a grainy music-night photo, and a clean fashion portrait that could pass for campaign content. With a little intention, any smartphone can get you there.
What Makes an Instagram Aesthetic on a Budget Feel Editorial?
An editorial portrait has a point of view. Think minimalist streetwear on concrete steps, Y2K energy under fluorescent lights, or a warm, soft-focus look for a cultural fest. A standard selfie often happens by accident; an editorial image feels chosen.
- Directional light: Side lighting creates shape, shadow, and depth.
- A controlled frame: A plain wall, curtain, stairwell, or architectural detail beats a busy bedroom.
- Deliberate styling: One standout jacket, accessory, colour, or silhouette can set the mood.
- Confident posing: A lower camera angle, relaxed shoulders, and a purposeful eyeline create presence.
- Consistency: Repeating a palette, crop style, or mood builds an Instagram visual identity people recognise.
As Later explains in its guide to creating an Instagram aesthetic, cohesion does not mean making every post identical. It means giving your content a visual thread, whether that comes from colour, editing, locations, or the way you dress.
Your Phone Isn’t Holding You Back—Bad Light Might Be
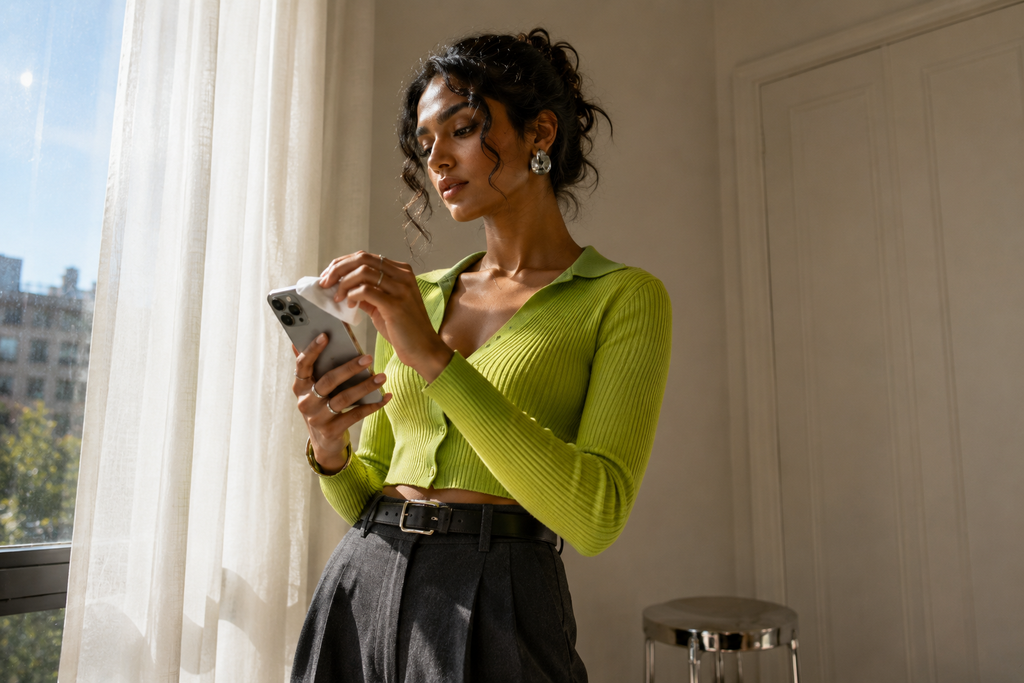
The idea that more megapixels automatically mean better photos is one of smartphone photography’s biggest myths. A 12MP image taken beside a flattering window will usually look better than a high-resolution shot under harsh dorm-room lighting. Modern phones already use software to balance exposure, contrast, HDR, and detail surprisingly well.
Start with the unglamorous essential: clean your lens. Fingerprints and pocket lint create haze, strange flare, and low-contrast images that no filter can properly fix. Use a soft cloth, or the inside of a clean cotton T-shirt in a pinch.
Skip digital zoom, too. Pinching in crops the image and can make details look mushy. Move closer, or crop later. For a sharper result, tap your face or outfit on screen to set focus and exposure before using the timer.
For the best smartphone headshots at home, stand roughly 45 degrees from a window. This soft side light lets one side of your face catch the light while the other retains gentle shadow. If midday sun is too intense, diffuse it with a sheer curtain. Turn off overhead lights where possible; they often create under-eye shadows and mismatched colour tones.
For more useful pointers on lighting, framing, and camera settings, WIRED’s phone photography guide is a solid reminder that technique lasts longer than any trending device.
Use the Rear Camera for a Better Selfie, Not a Harder Shoot
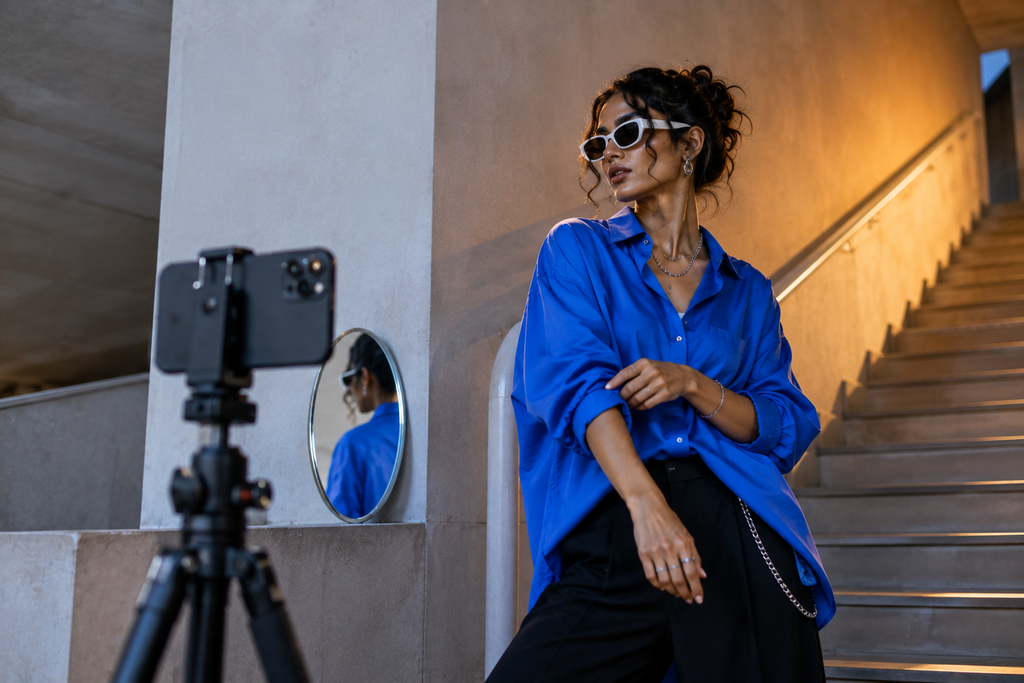
The front camera is convenient, but the rear camera is usually stronger. It tends to capture more detail and apply less aggressive processing, making it one of the easiest ways to improve non-iPhone fashion photography.
Set your phone on a tripod, stack of books, or stable shelf. Use the timer, and position a mirror behind or beside the phone so you can check the frame. A remote shutter, voice command, or smartwatch trigger can help, but a 10-second timer works perfectly well.
- Place the camera slightly below eye level for a more confident, editorial angle.
- Keep your face slightly off-centre rather than directly in the middle.
- Leave negative space around your head or body.
- Relax your shoulders, lengthen your neck, and bring your chin subtly forward and down.
- Take a sequence: look at the lens, look away, adjust a sleeve, touch an earring, or turn one shoulder.
Movement is the quickest fix for the frozen-selfie effect. A hand on a collar, bag strap, or jewellery gives the image a little narrative. For more depth, step away from the background; even a phone camera creates better separation when there is space between you and the wall.
Turn Ordinary Corners Into Your Budget Instagram Aesthetic
You do not need a studio. You need a background that does not compete with you.
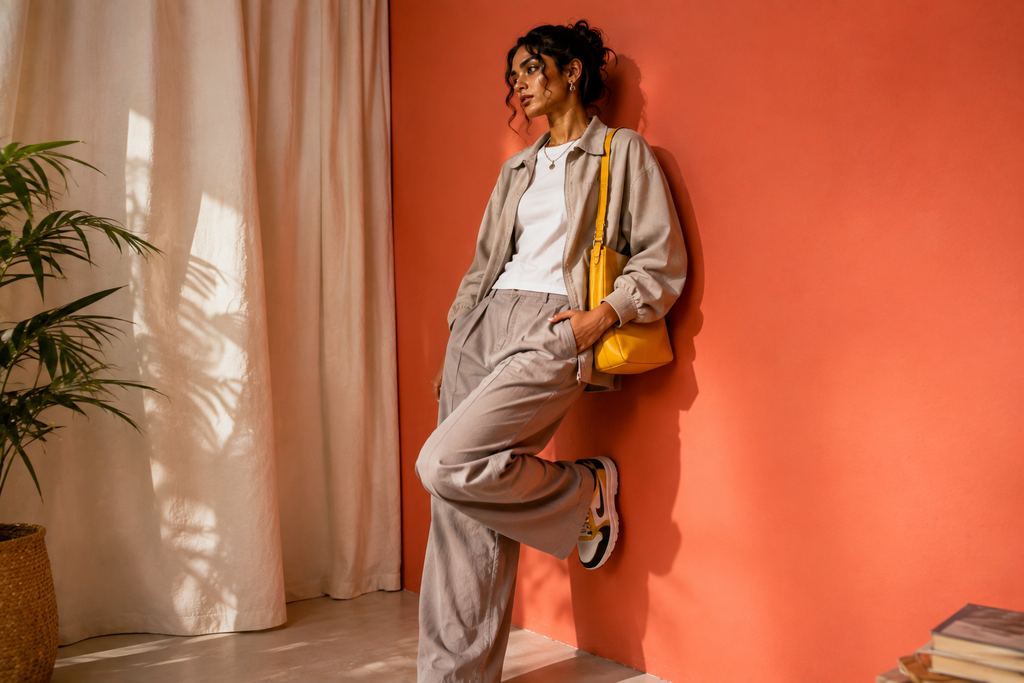
Look for a plain painted wall, curtain, stairwell, campus exterior, tiled corridor, parking structure, or large mirror. Avoid visible laundry, unmade beds, open cupboards, and charging cables. Casual can look cool. Clutter rarely does.
The same editing principle applies to styling: edit, do not overbuy. Build a look around one focal point—a leather jacket, oversized shirt, silver jewellery, bright bag, scarf, tie, or excellent pair of shoes. A restricted colour story nearly always photographs better than five competing colours.
- Y2K: Baby tees, denim, metallic accessories, flash, and playful colour.
- Indie sleaze: Messy texture, dark layers, grain, and nightlife lighting.
- Minimalist streetwear: Neutrals, clean silhouettes, and architectural backgrounds.
- Casual editorial: Everyday clothes, styled with a stronger pose and cleaner frame.
Before buying another “content outfit,” try a digital wardrobe to spot fresh combinations in clothes you already own. It is an easy way to avoid panic-buying before an event.
The 10-Minute Smartphone Fashion Photography Routine
If you want your smartphone selfies to look more professional, use the same short process every time:
- Clean the lens.
- Choose one light source, ideally a window.
- Use the rear camera and timer.
- Clear the background or find a simple location.
- Build the outfit around one visual idea.
- Take 20–30 frames with small pose changes.
- Choose the sharpest image with the strongest expression, not necessarily the most “perfect” one.
- Edit lightly.
Correct exposure and white balance first. Lower highlights slightly if the window is too bright, and lift shadows only enough to preserve detail. Keep similar crop ratios across related posts, then add a little contrast or a subtle colour grade if it suits your feed. Preserve skin texture; heavy smoothing and beauty filters can date an image fast.
Editing should enhance a good source photo, not rescue a weak one. If the lighting is poor, the background is distracting, and focus is soft, presets will not make it look convincingly editorial.
One Selfie, Several Directions: Where Fashually Fits In
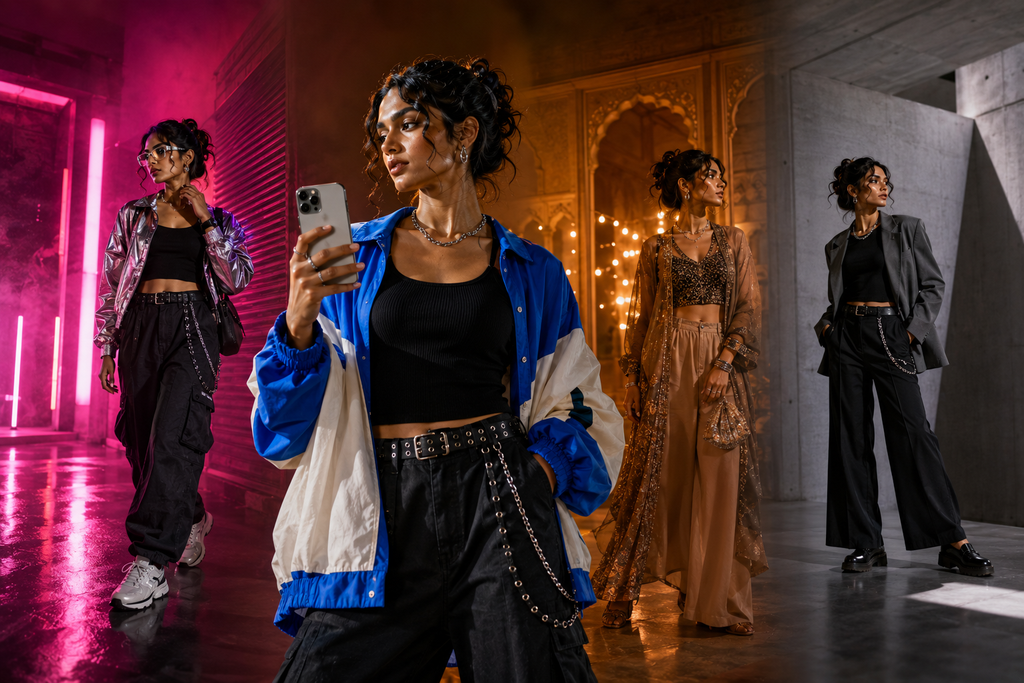
Even a great budget setup cannot give you every wardrobe, location, or lighting concept. You might have a strong selfie but not a neon street scene, brutalist studio, or the budget for several different looks. That is where AI can work as a creative tool rather than a shortcut.
With Fashually’s AI Fashion Photoshoots workflow, you can begin with a well-lit smartphone image and explore editorial-style variations in outfits, poses, backgrounds, and aesthetics. Your phone captures the real base image; Fashually helps develop the visual concept around it.
One source image can support a polished portfolio profile photo, a cyber-inspired streetwear portrait for a music-fest carousel, or a warm cover-style visual for cultural-event content. Explore AI fashion styling and virtual styling to test a visual direction before committing to it in real life.
AI visualisations are useful for exploring ideas, not guaranteeing exact fit, fabric texture, comfort, or a garment’s real-world appearance. Think of them as a digital canvas—one more way to extend a clear creative point of view.
FAQ: Small Fixes That Make the Biggest Difference
Can I create an Instagram aesthetic on a budget without an iPhone?
Yes. Good lighting, a clean lens, intentional framing, and a strong source image matter more than owning a particular phone.
What is the best lighting for smartphone selfies at home?
Soft window light from the side is usually the most flattering. Stand at roughly a 45-degree angle to the window and avoid harsh overhead lighting.
Should I use the front or rear camera for fashion selfies?
Use the rear camera when possible. It is typically better for detail and image quality; use a timer and mirror to make framing easier.
How do I make my feed look consistent without posting the same photo repeatedly?
Repeat a few visual cues: similar tones, crop styles, locations, outfit formulas, or editing choices. Consistency is about a shared mood, not identical images.
The best editorial Instagram photos do not need to look expensive. They need choices: better light, cleaner framing, stronger styling, and a clearer point of view.
Your phone takes the selfie. Fashually takes it further.